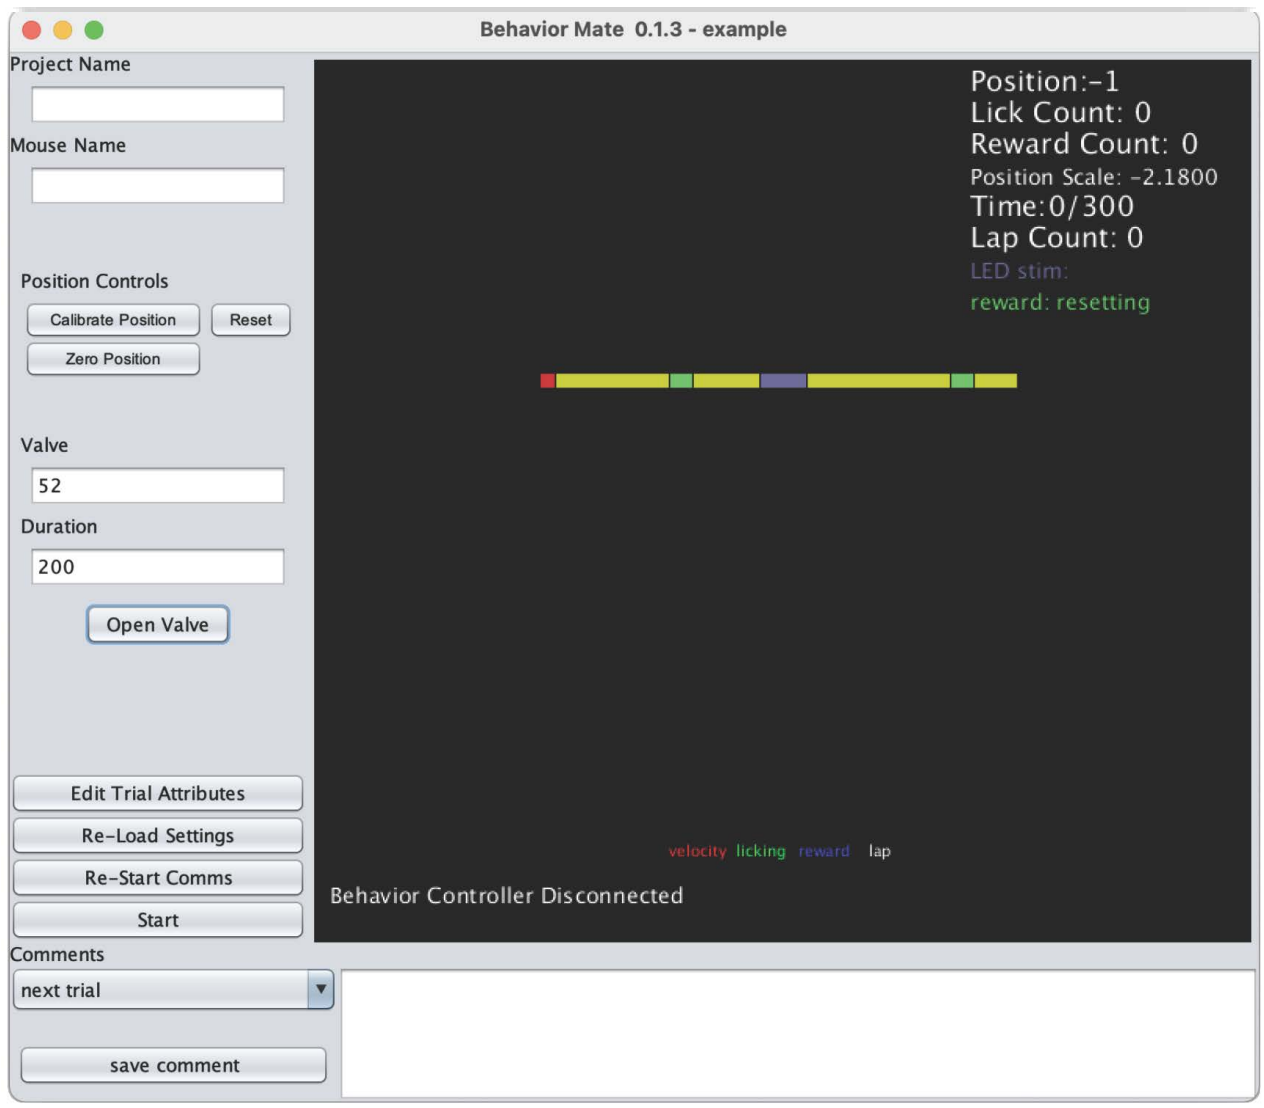
Getting Started (mock-setup):
- Install Python 3.7+ and Java 8.
- Download and extract behaviorMate.
- Run the virtual_arduino.py script in the virtual_arduino folder. This will set up a virtual behavior and position controller that a locally running behaviorMate instance can communicate with. From the perspective of behaviorMate, it is as if a physical behavior and position controller is connected to your pc via ethernet.
- Start behaviorMate by opening behaviorMate.jar using Java 8.
- Select the local_test.json settings file in the example_settings_files folder.
- Run the simulate_movement.py script in the virtual_arduino. This will generate the same UDP messages to behaviorMate that the real electronics would generate in response to running wheel movement.
Getting Started:
- Install Java 8.
- Download and extract behaviorMate.
- Assemble the required electronics according to this guide.
- Plug the PC running behaviorMate, the behavior controller, and the position controller to an unmanaged switch via ethernet cables.
- Start behaviorMate by opening behaviorMate.jar using Java 8.
- Select the test.json settings file.
Getting Started (VR - 3 displays):
- Install Java 8.
- Download and extract behaviorMate.
- Assemble the required electronics according to this guide.
- Install Android 9 (Pie) on 3 Android capable devices such the Odroid C4.
- Install the VRMate APK on each android device.
- Make the IP addresses of the Androids static and set them to 192.168.1.141, 192.168.1.142, 192.168.1.143 respectively.
- Make the IP address of the the PC running behaviorMate static and set it to 192.168.1.100.
- Plug the PC running behaviorMate, the behavior controller, and the position controller to an unmanaged switch via ethernet cables.
- Start VRMate on all Android devices.
- Start behaviorMate by opening behaviorMate.jar using Java 8.
- Select the test_vr_3.json settings file.
To test a VR environment locally, run VRMate on your PC using Unity 2019 and use the test_vr_1.json settings file.
